

Embroidered logo polo shirts look straightforward on paper, but they are one of the easier branded garments to get wrong in production. A polo combines knit stretch, placket structure, collar balance, and chest branding in one garment, so a logo that looks clean on artwork can still pucker the fabric, pull the surface off grain, or sit awkwardly once worn.
For buyers planning branded uniforms, private label collections, clubwear, or promotional programs, early technical decisions matter more than many expect. If your team is comparing fabrics, logo methods, and placement options, reviewing custom polo shirt manufacturing support can help frame the project around fabric behavior, decoration feasibility, and production consistency before bulk approval. That context makes it easier to prevent embroidery defects at the source rather than trying to fix them after the garments are made.
Why embroidered logo polo shirts are more difficult to execute than T-shirts
A T-shirt usually gives embroiderers a flatter and more forgiving surface. A polo shirt does not. Polo fabrics are often pique, interlock, jersey blends, or performance knits that behave differently under needle penetration and thread tension. The garment also includes construction zones that affect logo positioning, such as the placket edge, button stand, collar seam, shoulder slope, and chest curvature.
This means embroidery quality is not only about digitizing the logo correctly. It also depends on how the fabric stretches in the hoop, how the backing stabilizes the knit, how close the design sits to structural seams, and how the logo looks after the polo is washed and worn. From a manufacturer perspective, embroidered logos on polos require tighter coordination between fabric choice, sample review, and decoration setup than many basic knit tops.
What causes puckering, distortion, and uneven logo placement
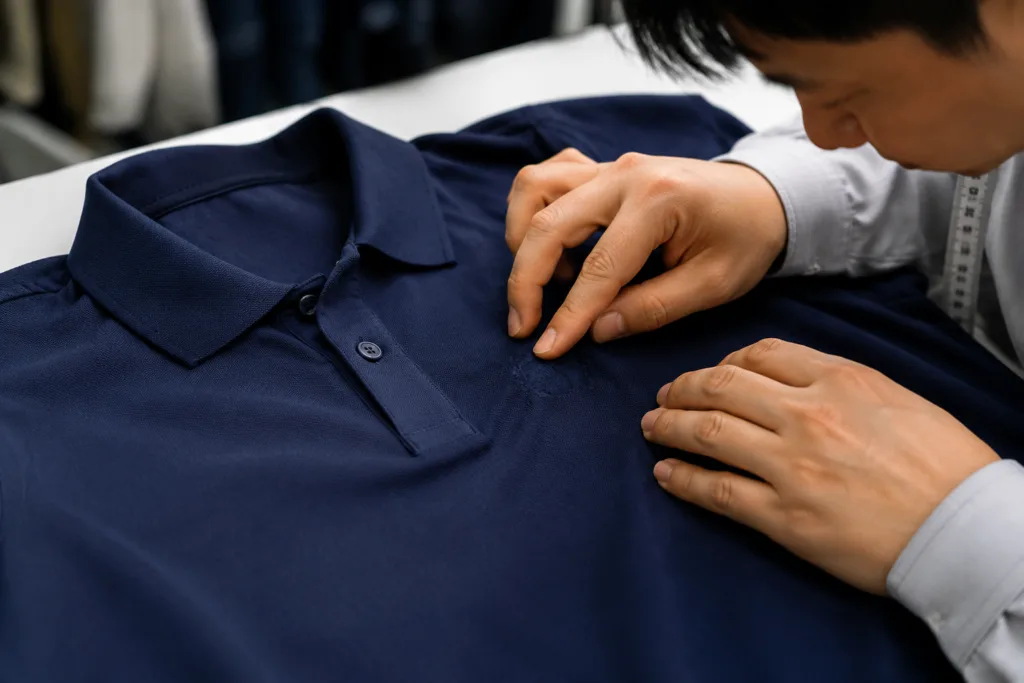
Puckering usually happens when stitch density, thread tension, backing choice, and fabric stability are out of balance. If the embroidery pulls harder than the knit can support, the surface gathers around the logo. If the fabric shifts in hooping, the logo may look tilted or misshapen even when the embroidery file itself is correct.
Common technical causes include:
- Excessive stitch density for a soft or lightweight polo fabric
- Insufficient or incorrect backing for knit stabilization
- Logo placement too close to plackets, side panels, or seam transitions
- Fine details that force small satin stitches into unstable areas
- Inconsistent hooping tension across sample and bulk runs
- Garment shrinkage after washing that changes the appearance around the logo
Uneven placement is often a process issue rather than a machine issue. If the factory measures from different reference points, such as shoulder seam on one batch and placket edge on another, logos can drift even when every piece was technically embroidered where marked. This is why placement standards need to be documented with garment-specific reference points, not only a general comment like “left chest logo.”
How fabric structure and stretch affect stitch stability
Fabric is one of the biggest risk variables in embroidered logo polo shirts. A stable cotton pique may handle medium-density embroidery better than a lightweight recycled performance knit with high stretch and a slick surface. Moisture-wicking polos can look premium, but many synthetics reveal pull, needle marks, or tunneling more easily if the logo file is too dense.
Buyers should pay close attention to GSM, knit structure, elastane content, surface texture, and recovery. A textured pique can visually hide minor stitch sink better than a smooth face knit, but it can also make small lettering less crisp. A stretch polo may feel better in wear, yet that same stretch increases the chance of logo distortion if the stabilizer setup is weak. When teams are still comparing material options, it helps to review factors involved in choosing the best fabric for custom polo shirts so the embroidery plan is matched to the fabric rather than treated as a separate decision.
At Ninghow Apparel, this is usually where embroidery risk becomes easier to manage: first confirm what the fabric can realistically support, then adjust logo execution around that reality. Trying to force the original logo file onto an unsuitable knit often creates avoidable rework during sampling.
Why logo size, detail level, and color complexity increase embroidery risk
Not every brand logo translates well into thread at small chest scale. Embroidery has physical limits. Very fine lines, tiny text, sharp corners, gradients, and crowded internal spaces can become thick, unclear, or unstable once stitched into a knit polo. The more detail packed into a small area, the more likely the machine needs dense stitch paths that stress the fabric.
Risk tends to rise when:
- The logo width is too small for the level of detail
- Lettering height is reduced below practical embroidery readability
- Multiple thread color changes create registration challenges
- Outlines and fills overlap heavily in a compact logo
- The design relies on visual effects better suited to print than thread
A common sourcing mistake is approving a vector logo without asking whether it should be simplified for embroidery. In practice, a slightly edited embroidery version often performs better while still protecting brand identity. Removing tiny internal gaps, thickening fragile strokes, and reducing color breaks can improve clarity and reduce puckering without changing the brand impression when viewed at normal distance.
Choosing the right logo placement
Placement affects both appearance and production accuracy. On polos, the same logo can look balanced in one position and awkward in another because of body shape, button placket alignment, or fabric drape. Buyers should approve placement based on actual worn appearance, not only flat-table measurements.
Left chest
The left chest remains the most common option because it is familiar, functional, and usually low risk when properly spaced from the placket and armhole. The main concern is drift caused by inconsistent reference measuring. Placement should be tied to fixed points such as center front placket and high point shoulder, not estimated visually.
Sleeve
Sleeve logos can work well for sportswear, teamwear, and corporate programs, but the usable area is smaller and more curved. A bulky logo on a short sleeve can twist visually once the arm is bent. Stretch and seam proximity increase risk, especially on performance fabrics.
Back neck
Back neck embroidery can look refined, but the area is narrow and close to the collar seam. Dense logos here may create stiffness or irritation if backing is not controlled. This location usually works better for simple marks than detailed artwork.
Hem
Hem placements are less common for direct embroidery and may be better handled with labels, badges, or woven branding depending on the concept. If used, the design should stay clear of side vents and hem folds to avoid skewed appearance.
Wherever the logo goes, the best control method is to confirm exact placement coordinates during the apparel sample approval process instead of assuming bulk production will match a loosely approved concept image.
How to simplify a logo before embroidery without losing brand identity
Simplification is not the same as downgrading the brand. It is a technical translation step. The goal is to keep the logo recognizable while removing elements that increase instability or reduce readability in thread form.
Useful simplification methods include:
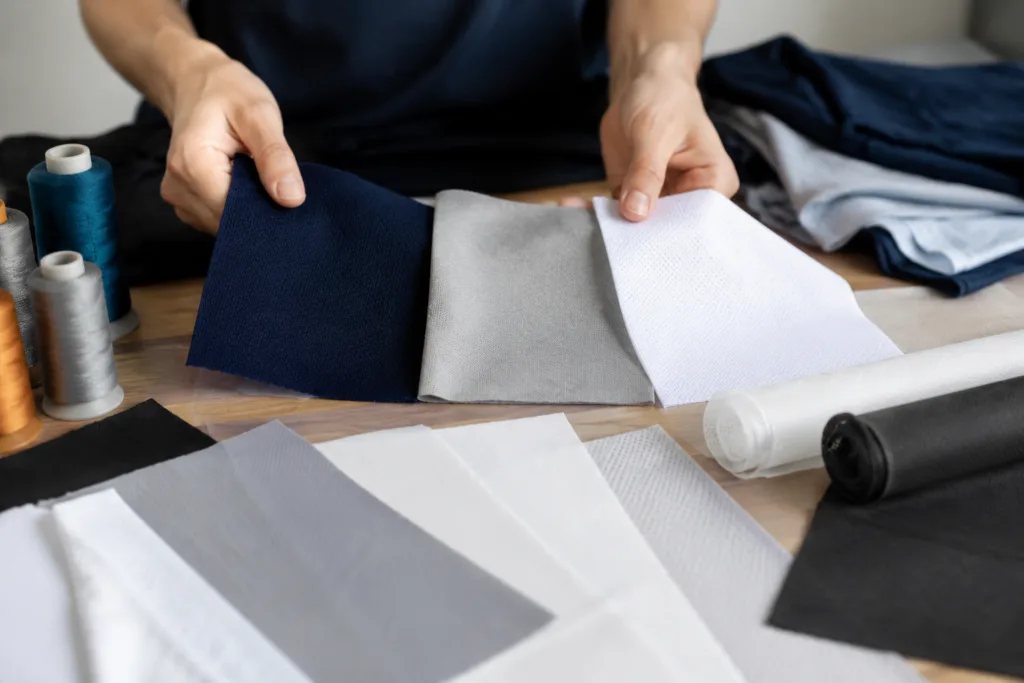
- Merging very small negative spaces that will close up in stitching
- Increasing minimum line thickness
- Replacing tiny text with initials or a cleaner brand mark for small placements
- Reducing thread colors where color breaks do not add clear value
- Swapping a filled area for a lighter stitch strategy when fabric pull is likely
Buyers should request an embroidery-ready visual or sew-out preview, not only rely on the original design file. If the factory proposes logo adjustments, those changes should be documented clearly so brand and sourcing teams know whether the difference is aesthetic, technical, or both.
What to inspect in an embroidery sample before approving bulk production
Sample approval should go beyond asking whether the logo looks “good.” Buyers need a repeatable review standard. If a sample is approved without checking stitch behavior, scaling, placement consistency, and post-wash stability, the same issues usually multiply in bulk.
Inspect these points carefully:
- Is the logo centered, level, and measured from fixed garment references?
- Does the fabric lie flat around the embroidery without rippling?
- Are small letters and shapes still readable at normal viewing distance?
- Does the thread coverage look balanced rather than overly heavy?
- Is the backing suitable and cleanly finished on the inside?
- Does the logo feel too stiff compared with the garment hand feel?
- Are multiple sample pieces consistent with each other?
It is also important to agree in advance on realistic acceptance ranges. Minor variation can exist in garment production, but the buyer and manufacturer should define what is acceptable for placement, logo size, and visual balance. Using documented apparel quality tolerance standards helps turn feedback into measurable decisions instead of subjective debate.
How to test embroidered polos after washing and wearing
An embroidery sample that looks clean straight off the machine may still fail after use. Washing and wear testing are important because polos move, stretch, and relax differently once they leave the production table. If the logo area shrinks, tunnels, or hardens after laundering, the issue was not truly solved.
Practical checks include:
- Wash the sample using the intended care method and inspect for puckering increase
- Check whether the logo edge lifts or the surrounding knit distorts
- Assess whether the logo remains level after the garment relaxes from wash
- Wear the polo to see if the chest logo buckles across body movement
- Review comfort on inside contact points, especially near back neck placements
These tests do not need to be complicated, but they should be deliberate. If the embroidered area already feels overly rigid before wash, there is a good chance it will become more noticeable after repeated care cycles.
A pre-production logo checklist for custom embroidered polos
Before bulk embroidery begins, the buyer and factory should lock the technical assumptions that affect quality. This reduces preventable mistakes caused by informal approvals or missing details.
| Checkpoint | What to Confirm | Why It Matters |
|---|---|---|
| Artwork version | Embroidery-adapted logo file approved | Prevents unauthorized simplification or over-detailed stitching |
| Placement | Measured from exact garment reference points | Improves consistency across sizes and batches |
| Logo size | Width and height locked per placement | Controls readability and fabric stress |
| Backing | Stabilizer type and feel reviewed | Reduces puckering and wearer discomfort |
| Fabric pairing | Logo tested on actual bulk fabric | Avoids mismatch between lab sample and production material |
| Wash result | Post-wash appearance accepted | Confirms real-world stability |
| Bulk standard | Visual and measurement tolerances documented | Makes QC decisions more consistent |
Common mistakes buyers make when ordering embroidered logo polo shirts
Most recurring embroidery problems start before production, not during it. Buyers often focus on logo artwork first and treat garment construction as secondary, even though the shirt structure strongly affects final result.
Frequent mistakes include:
- Choosing fabric before checking embroidery compatibility
- Approving very detailed logos at small chest scale
- Using only digital mockups without physical sew-out review
- Giving vague placement instructions such as “standard left chest”
- Skipping wash testing because the pre-production sample looks fine
- Assuming all polo sizes can use identical placement coordinates without review
- Not aligning embroidery requirements with other construction details, stitches, and finishes that influence the final garment shape
Another mistake is evaluating embroidery as an isolated decoration step. In reality, collar roll, placket behavior, fabric recovery, and panel shape all influence how the logo is perceived on the finished polo.
How a manufacturer should communicate embroidery specs to avoid production errors
Good embroidery results depend on clear technical communication. A manufacturer should not rely only on artwork, a sample photo, and a casual placement note. The instruction set should connect logo specs to garment specs so the embroidery team, sample room, and bulk line are all working from the same standard.
A practical embroidery specification should cover:
- Approved artwork version for embroidery use
- Exact logo dimensions
- Placement measurements from fixed points
- Approved thread colors
- Backing or stabilizer expectation
- Sample approval status and comments
- Wash test requirement if applicable
- Bulk inspection checkpoints
From a sourcing standpoint, this is where a capable manufacturer creates value: not by promising perfection, but by reducing ambiguity before it turns into bulk inconsistency. When embroidery, pattern, fabric, and QC teams work from the same specification logic, embroidered logo polo shirts become much more predictable to produce.
Conclusion
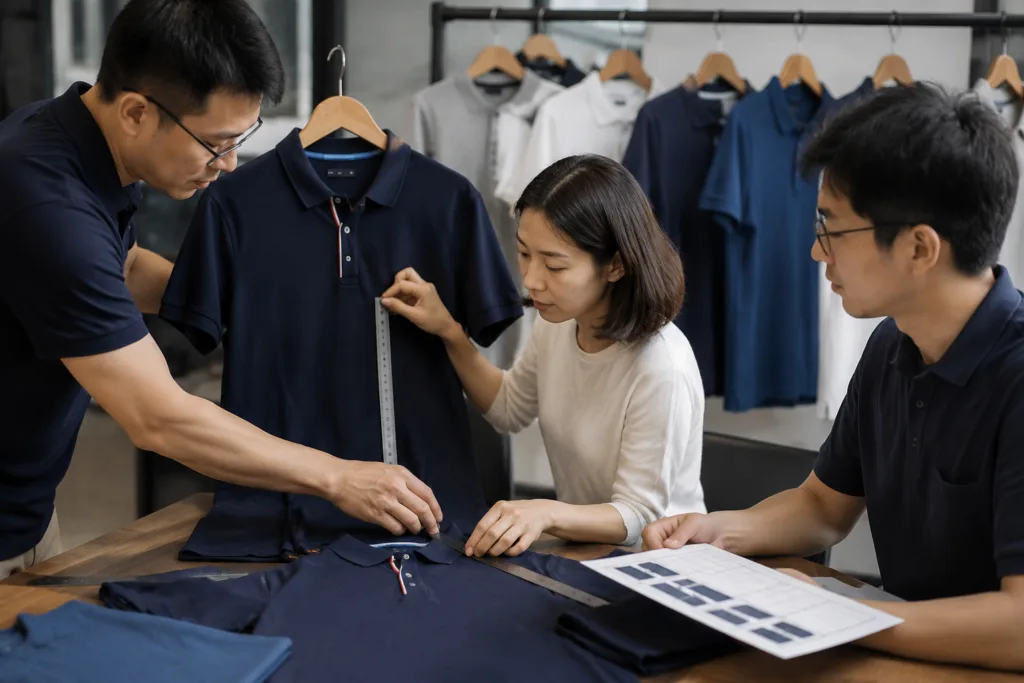
Embroidered logo polo shirts can look polished and durable, but only when the logo method fits the fabric, the placement is measured correctly, and the sample is reviewed with production reality in mind. Puckering, distortion, and poor placement are rarely random defects. They usually come from preventable decisions around fabric stability, logo complexity, stabilization, or weak pre-production communication.
For buyers, the safest approach is to treat embroidery as a technical process rather than only a branding step. If you confirm fabric suitability, simplify logos where needed, test samples after wash, and document placement and tolerance standards clearly, bulk results become far more reliable.
FAQ
Why do embroidered logo polo shirts pucker more than some other garments?
Polo shirts are often made from knit fabrics with stretch and surface texture, so embroidery can pull the fabric more easily if stitch density, backing, or hooping are not matched correctly to the material.
What is the safest logo placement for a polo shirt?
Left chest is usually the safest and most consistent option because it is familiar and workable on most polo styles, but it still needs exact measurements from fixed garment reference points to avoid drift.
Can a detailed brand logo be used on embroidered polo shirts?
Yes, but highly detailed logos often need simplification for embroidery so small text, thin lines, and tight internal spaces remain readable and do not create excess puckering.
Should buyers approve embroidery based only on a digital mockup?
No, a digital mockup cannot show stitch tension, fabric distortion, backing feel, or post-wash behavior, so a physical sample or sew-out is much more reliable for approval.
How should logo placement be measured on bulk polo production?
Placement should be measured from fixed points such as the placket, high point shoulder, or other approved construction references so every production unit follows the same standard.
What should be tested before approving bulk embroidered polos?
Buyers should review placement accuracy, stitch clarity, puckering, backing comfort, consistency across samples, and wash performance before giving final bulk approval.