
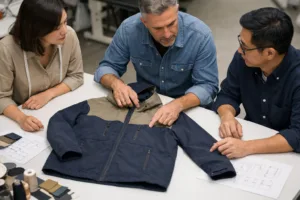
Introduction: Sample Comments, Correcting Defects, and Manufacturer Communication
Most apparel brands realize sooner or later: not every first production sample meets expectations. Whether it’s a misaligned stripe, the wrong type of rib, or off-size pockets, handling sample rejections requires professionalism. It’s tempting to point fingers or let frustration color your feedback, but this rarely leads to improved results. Instead, experts prioritize clear, actionable sample comments and respectful manufacturer communication. This guide shows you exactly how to structure feedback, highlight defects, and collaborate with your manufacturer for meaningful sample corrections—protecting your timeline, quality, and brand reputation.
Handling Sample Rejections: How to Give Constructive Feedback

Rejecting a sample isn’t personal—it’s a vital control step. The goal is to provide the manufacturer with objective, practical instructions for correction, not to demotivate the team or ignite defensiveness. Structuring sample comments ensures the feedback is easy to understand and minimizes ambiguity.
Why Sample Comments Matter for Brand Success
Every comment given during sample review will echo through production. Good comments clarify expectations, support efficient corrections, and foster smoother communication on future orders. Unclear or emotional comments can cause misunderstandings, delays, and even repeated costly defects in mass production.
Checklist: Key Elements of a Constructive Sample Rejection
- Objective Summary: Briefly state main reasons for rejection—avoid loaded language or generalizations.
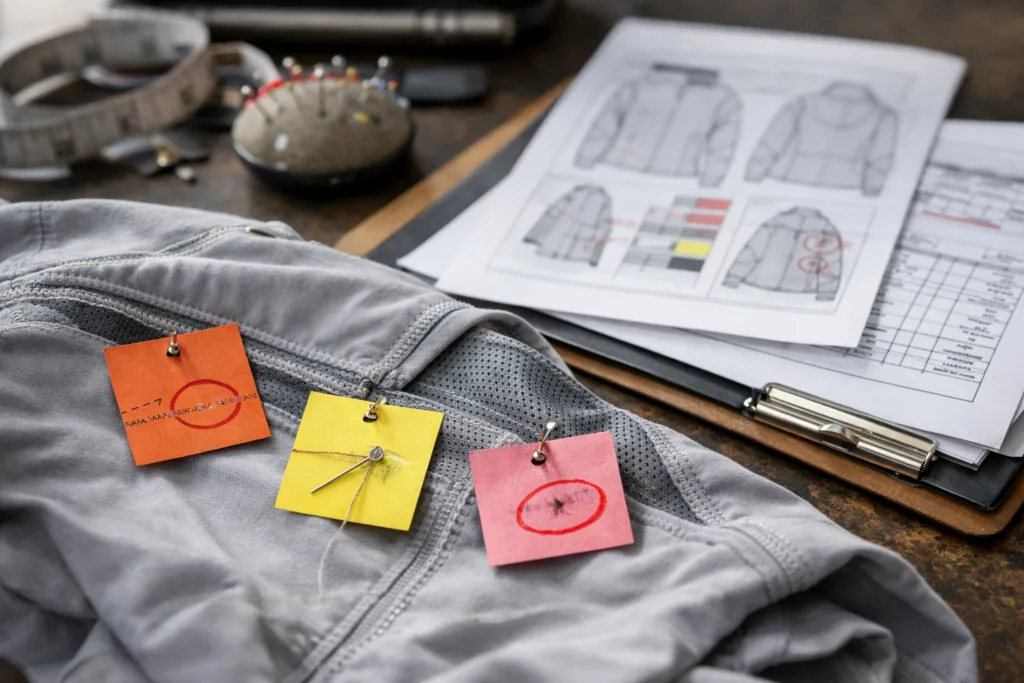
- Visual Documentation: Use annotated photos, highlighted tech pack pages, or defect tags to clarify the issues.
- Refer to Original Spec: Relate each defect to a specification, drawing, approved tech pack, or previous notes.
- Correction Suggestions: List actionable, specific instructions for each defect.
- Prioritize Issues: Distinguish critical defects (stop/go for production) from minor ones (nice-to-fix).
- Show Openness: Ask the manufacturer if any change is not possible, and request their suggestions for alternatives.
Understanding Sample vs. Production: Why Feedback Style Matters
Samples are learning tools. Treat them as living documents – prototypes that expose what needs refinement. Feedback should be direct but never emotional. Note: mass production is far less forgiving, so all points should be closed before bulk cutting begins.
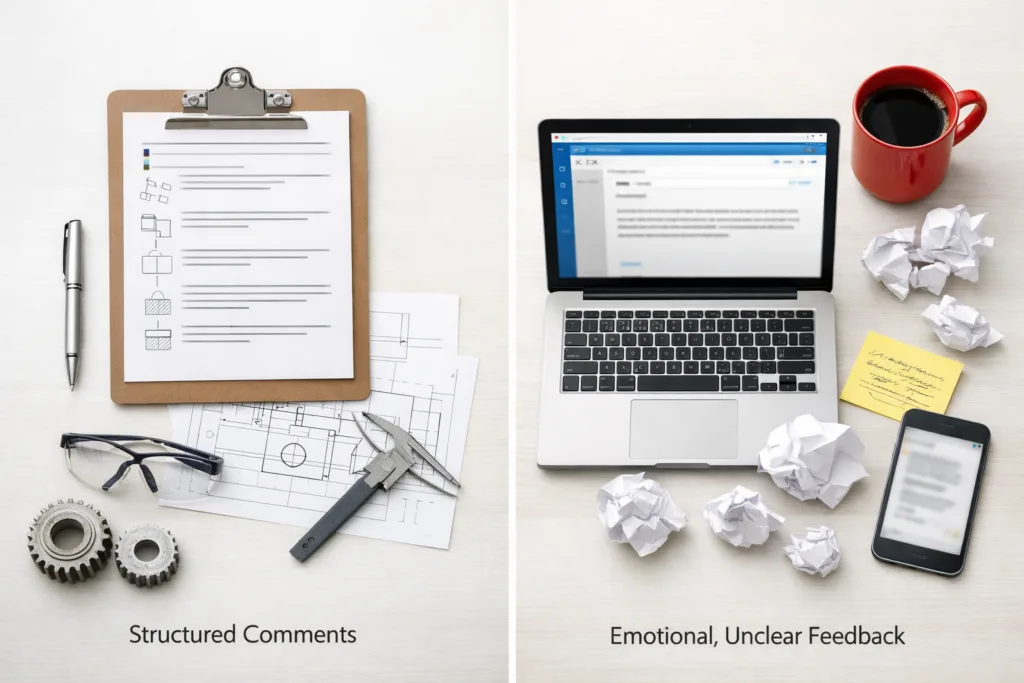
Common Traps: Emotion-Led Feedback vs. Productive Communication
- Emotion-Led: “This is a disaster! Didn’t you see the spec?”
- Productive: “The sleeve opening is 1.5cm wider than the spec. Please adjust to match the tech pack measurement (see attached ref.).”
Structuring Sample Comments: From Frustration to Actionable Detail
Professional sample comments follow three steps: defect description, evidence, correction instruction.
| Defect Description | Evidence/Reference | Correction/Instruction |
|---|---|---|
| Back neck tape is missing | See page 3 tech pack / photo attached | Add cotton herringbone tape as per spec |
| Buttons color incorrect | Should match pantone 367C per trim sheet | Replace with pantone 367C buttons |
| Hem stitching uneven | Visible in detail photo / out of tolerance +1cm | Adjust sewing machine for consistent tension; re-sew hem |
Sample Comments: Real-World Examples
Effective comments:
- “Waistband elastic is 3cm rather than 4cm as specified. Please use 4cm elastic (spec page 4, detail C).”
- “Pocket shape curves are not smooth; please revise pattern to match supplied drawing and use coverstitch for opening.”
- “Logo embroidery size is too small (should be 35mm wide per artwork). Please adjust and send close-up for approval.”
Poor comments to avoid:
- “This looks bad; fix everything!”
- “Did you use the reference I sent?”
- Vague feedback without measurements or reference images
When to Reject, Approve with Comments, or Approve as Is
Use clear words in your sample decision:
- “Rejected – Major defects must be corrected, new sample required.”
- “Approved with comments – Go forward if minor corrections are fixed and confirmed by photo.”
- “Approved as is – No further changes, green light for production.”
Correcting Defects: How to Note and Prioritize Modifications
All defects aren’t equal. Separate critical issues (fit, safety, major visuals) from those that don’t impede function or brand image. Prioritize your corrections and highlight must-fix items for the manufacturer. For a step-by-step on different sample types and their role in the process, see the guide to garment sampling stages.
Example: High, Medium, and Low Priority Defects
- High: Sizing out of tolerance, wrong material, missing safety feature
- Medium: Minor logo misplacement, non-matching thread
- Low: Interior seam finishing not as clean—request improvement but not a stop/go item
Referencing Tech Packs & Approval Comments
Your tech pack is the master reference for all sample corrections. Use its page numbers, measurements, and annotation lines to support your comments. If you send a revision, track changes clearly and update version control—see tips for updating tech packs during sampling.
Manufacturer Communication: The Professional Pathway
Good manufacturers embrace feedback as a tool to improve. Structure your comments in the format below for transparency and efficiency:
- Number and list defects for easy tracking
- Organize by category (fit, fabric, trims, labeling, packaging, etc.)
- Attach photographic evidence
- Document in both email/text and on the sample itself, if possible
To understand more about balancing firm communication with strong, lasting supplier relations, consider reviewing strategies in building long-term manufacturer relationships.
Transitioning from Comments to Actions: Sample Correction Flow
- Brand reviews sample and issues comments (include evidence & corrective action)
- Manufacturer reviews & clarifies any unclear points
- Manufacturer corrects defects, updates status, and shares new sample or supporting photos
- Brand approves or issues further corrections
- Final (TOP or production) sample is approved for bulk production
Practical Tools & Templates
To keep your sample feedback clean and professional, use structured comment templates. Many brands use spreadsheets with columns for the defect, reference page/photo, and corrective instruction. Sharing actual annotated photos (draw circles/arrows directly on images) speeds up problem-solving and leaves little room for interpretation.
Bringing Real Manufacturing Insight into Feedback
In production reality, even small details matter. Ninghow Apparel, for example, routinely encounters brands submitting sample comments ranging from over-emotional to laser-focused detail. The most consistent quality improvements stem from collaboration—when the factory understands both what and why a change is needed. Offering context, like “logo placement is important because it aligns with shell construction seam for retail display,” helps build that shared understanding.
Sample Comment Communication: What Not to Do
- Do not simply say “Doesn’t match my expectations”—always specify what and where.
- If you feel emotional, review and rewrite your comments after some time has passed.
- Refrain from negative language or sarcasm.
- Avoid open-ended instructions (“Can you just make it better?”).
Sample Communication Table: Emotional vs. Professional
| Emotional Comment | Professional Comment Example |
|---|---|
| “This looks totally wrong.” | “Collar shape does not match tech pack page 4. Please revise using attached pattern.” |
| “Why didn’t you read the instructions?” | “Fabric weight is lighter than specified (140gsm supplied vs 180gsm requested). Please confirm supply chain limitations.” |
| “I’m really disappointed with this.” | “Stitching on cuff shows uneven tension (see close-up photo). Please adjust machine settings and resend photos for confirmation.” |
The Impact of Constructive Feedback on Production Quality
Consistent, detailed feedback makes it much more likely the manufacturer will get it right in bulk production. Strong communication creates an environment where manufacturers do not guess but act on objective requirements. For peace of mind, some brands also opt for additional quality control checks prior to full production release.
Managing Sample Rejection Timelines
Treat sample correction decisions with urgency, but don’t rush the review. Send your consolidated comments once, not in piecemeal emails, to prevent confusion. If a manufacturing milestone is at stake, request a correction schedule from your supplier to align expectations and delivery timelines.
When Feedback Hits a Wall: What to Do
If repeated feedback isn’t leading to improvement, review whether the spec, communication style, or supplier capabilities might be the roadblock. Occasionally, a sample cannot be improved due to fundamental factory limitations—in this case, consider alternate suppliers or redesign compromises. For insights on managing manufacturing disputes, refer to the post on handling manufacturing disputes and defects.
Sample Comments: A Key to Long-Term Supplier Development
Your sample comment history becomes the manufacturer’s learning record. Over time, thorough, professional feedback builds capability and provides reference for future collections, making the sampling process faster and smoother each season.
Conclusion: Give Sample Feedback that Drives Results
Professional sample feedback isn’t only about pointing out what’s wrong—it’s about shaping efficient, predictable production. With accurate sample comments, clear evidence, and manufacturer collaboration, even complex modifications become manageable. Remember: details matter, tone sets the foundation for teamwork, and every sample is a learning step toward successful bulk production.
Frequently Asked Questions
How detailed should sample comments be?
Sample comments should be precise, referencing measurements, tech pack pages, and visual evidence. Avoid vague statements and aim for actionable instructions.
What if the manufacturer ignores my comments?
If feedback is consistently overlooked, review the communication format, escalate with clear documentation, and consider alternate suppliers if improvement stalls.
Should I approve a sample with minor issues?
Approve only if you’re confident minor issues won’t affect bulk production. Request photos confirming corrections before green-lighting mass production.
Why use annotated photos for defects?
Annotated photos reduce ambiguity, allowing the manufacturer to pinpoint the defect instantly and understand what needs change without misinterpretation.
How should I organize feedback for complex samples?
Use a clear table or numbered list, categorize by issue type, and provide references for each point. Consolidate remarks rather than sending many small updates.
What’s the difference between rejecting a sample and approving with comments?
Rejecting means a new sample is required due to major defects; approving with comments allows production after minor issues are fixed and confirmed, often via photo proof.
Related Reading
- Unlock the Fit Session: Steps to Perfect Apparel Sizing
- Demystifying Sample Costs: Real Reasons Prototypes Get Pricey
- Spotting Quality: Factory Sampling Red Flags and Wins
- How to Overcome Costly Communication Barriers in Overseas Sourcing
- Why the Pre-Production Sample Is Your Brand’s Production Safety Net