

Introduction: Why Perfect Fit Matters in Apparel Manufacturing
When creating quality clothing, a flawless fit is just as crucial as fabric selection or construction. Conducting a fit session isn’t just about how a garment looks on a model; it’s your strongest safeguard against costly production flaws and unhappy customers. This practical guide on How to Conduct a Fit Session: A Checklist for Perfect Sizing will give you the hands-on steps to ensure every sample achieves exceptional comfort, movement, and sizing accuracy. Let’s break down the approach, from selecting your fit model to recording precise measurement adjustments—so every style you launch lives up to professional standards.
Understanding the Fit Session: Purpose and Process Overview

Fit sessions, sometimes called ‘sample fittings,’ are structured meetings where a fit model tries on garments so the design and production team can review every aspect of the prototype’s sizing, shape, and comfort. The ultimate aim is to refine patterns before bulk production starts. Whether you’re working with a start-up collection or expanding an established line, mastering this process is essential for delivering consistent quality.
Selecting the Right Fit Model: Key Criteria for Success
Finding the right fit model is not about runway looks, but precision. Ideally, choose someone whose body measurements match your brand’s base size spec (for example, your Medium size). Fit models must be able to stand still, follow instructions, and give honest feedback about comfort, movement, and garment restrictions. Not sure where to start? Many manufacturers, like Ninghow Apparel, suggest developing long-term relationships with models whose proportions closely match your size chart for repeat consistency.
Pre-Session Preparation: Organizing Samples and Tools
Efficiency starts before the model arrives. Prepare all items in advance:
- Clean, well-labelled samples for each style and size
- A copy of your measurement spec sheets and tech packs
- Measuring tape, pins, tailor’s chalk, camera, notepads
- Checklist template for consistent record-keeping
- Fit session room with good lighting and privacy
If you’re focused on quality, investing in fit checklists and sample management tools (see apparel sizing customization) can streamline the process.
Fit Session Team Members and Their Roles
A successful fit session is a team effort. Common participants include:
- Pattern maker or technical designer: leads measurement and technical notes
- Designer: reviews silhouette and intended style
- Product manager/merchandiser: ensures business goals are met
- Sample room manager or manufacturer’s rep: notes production feasibility
- Fit model: provides feedback and demonstrates real-world movement
Best Practices for Fit Room Set-Up
Your fit room should have:
- Full-length mirrors for 360° viewing
- Consistent indoor lighting (daylight-balanced bulbs help)
- Backdrop with neutral colors to spot garment issues
- Enough space for fit model and observers to move freely
Fit Checklist Overview: What to Inspect, Line by Line
Using a standardized checklist (see apparel manufacturing quality control) prevents you from overlooking critical points in each session. The checklist typically covers:
- Overall garment balance and alignment
- Shoulder, bust/chest, waist, hip, and hem circumference
- Body length (center front/back, sleeve, inseam)
- Armhole and sleeve opening sizes
- Pocket positions, trims, closures
- Movement test: raising arms, sitting, bending
How to Measure the Garment on the Model
With the garment on your fit model, use a flexible measuring tape to confirm:
- Critical circumference points (bust, waist, hip, bicep, thigh)
- Shoulder width: from seam to seam
- Back and front lengths
- Arm length (shoulder to wrist)
Record all measurements and compare to your original spec. If the garment varies beyond tolerance (usually ±0.5 to 1 cm), note it for correction. Not sure about standard tolerances? Check resources like our complete garment manufacturing guide to pattern tolerance.
Assessing Fit: Key Points for Each Zone
Inspect the following areas while guided by your checklist:
- Shoulder/Sleeves: Alignment, drop, and movement range
- Bust/Chest: Gaping, pulling, flattening, fullness
- Waist/Hips: Snugness, excess ease, sinking or riding up
- Back: Drag lines, pulling, posture adjustment
- Length: Coverage, balance front vs. back
- Leg, cuff, hem: Pant fit, skirt drape, opening size
Don’t forget movement. Ask the model to stretch, sit, squat, and rotate their arms. Mark any area that restricts or distorts.
Documenting Issues: Notetaking and Visual Records
Take clear, annotated notes on every area where improvement is needed. Combine this with smartphone photos or even short videos to record:
- Side-by-side before/after
- Problem areas (circling drag lines, wrinkles, gaps, etc.)
- Movement shots for dynamic fit
Well-documented issues speed up communication with your pattern maker, especially if you’re managing teams remotely or dealing with overseas factories.
Communicating Corrections: Feedback for Your Pattern Maker
Effective corrections are clear, quantifiable, and linked to images or sketches. For instance: “Raise armhole by 1 cm; hem width +2 cm for added ease.” Attach photo notes and avoid vague feedback like ‘needs to look better’ or ‘feels off.’ Some production teams—such as those at Ninghow Apparel—recommend updating your tech pack with every fit round for improved version control.

Sample Review Table: Example Fit Feedback
| Zone | Observation | Recommended Correction |
|---|---|---|
| Shoulder Seam | Drooping 1.5 cm off shoulder | Move shoulder seam in by 1.5 cm |
| Sleeve Opening | Tightness during arm lift | Enlarge armhole by 1 cm |
| Waist | Too roomy (5 cm extra) | Reduce waist circumference by 4 cm |
| Hem | Bunching at side seams | Smooth curve at seam, add 0.5 cm ease |
Measuring Garments vs. Measuring on the Body
It’s common to measure both the flat garment (off-model) and on the fit model. Flat measurements help with bulk production accuracy, while body-on measurements provide critical data about 3D fit and real-world comfort. Both are essential for sizing consistency.
How Many Fit Sessions Are Needed?
Most brands conduct two to three rounds per style: proto sample, second/final fit, and pre-production check (sometimes more for complex or fitted garments). Document the result of each and only proceed to the next stage when all corrections are applied and approved.
Common Pitfalls and How to Avoid Them
- Using a model with off-spec measurements
- Skipping the checklist or not recording changes
- Ignoring feedback from the sample room or production team
- Not double-checking after fix rounds
The Role of Digital Tools and 3D Sampling
For brands scaling up, 3D virtual fitting tools can speed up the process, reduce sampling costs, and preview fit before a physical sample is made. Digital twins, as discussed in resources like this guide to 3D sampling, are increasingly utilized to check fit, grading, and proportions virtually, though final physical approval is still recommended.
Integrating Fit Results with Patternmaking and Grading
Once fit changes are agreed upon, update your base pattern immediately. Apply corrections before moving to grading for other sizes to avoid amplifying errors. Keep a master block library (basic patterns in core sizes) to ensure future consistency across collections.
Final Sign-Off: Ensuring Fit Consistency Before Bulk
Before sending your styles to production, conduct a final fit confirmation on a fresh sample. Sometimes brands create a “TOP” (top of production) sample as a gold-standard reference. This helps catch any last-minute factory changes or trims substitutions, keeping bulk runs error-free.
Post-Session Documentation: Updating Tech Packs and Specs
After every session, document your corrections in the tech pack, with new spec sheets, updated sketches, or marked-up sample photos. Save all documents in a central folder and share them with all stakeholders to prevent confusion—especially with overseas manufacturing partners.
Applying These Steps to Any Apparel Category
Whether you’re fitting T-shirts, hoodies, polos, or trousers, the fundamentals remain the same: choose an accurate model, measure consistently, document carefully, and apply changes before bulk orders. Some categories like trousers or coats may need specialized fit checks (rise, inseam, lining), but process discipline pays off in all cases.
A Realistic Perspective: Tips from the Factory Floor
From the standpoint of seasoned manufacturers, fit sessions serve as the last checkpoint before committing to costly materials and final production runs. At Ninghow Apparel, it’s common practice to gather both the pattern team and sewing lead to review feedback together—ensuring technical corrections are feasible and aligned with fabric behavior. Sometimes, the ‘perfect fit’ on paper needs real-world tweaks based on sewing tolerances or fabric stretch. Always expect a bit of back-and-forth, and don’t rush approval when your end customer’s comfort is at stake.
How to Conduct a Fit Session: A Checklist for Perfect Sizing
- Select a fit model matching your base size
- Prep all samples, specs, and tools ahead
- Assign clear roles to each team member
- Use a measured checklist for every garment zone
- Measure both flat and on-model, noting variances
- Record feedback with annotated notes/photos
- Relay corrections clearly to your pattern maker
- Update tech packs and confirm all changes before production
- Repeat fit rounds as needed—never rush approval
Conclusion: Confidently Achieving a Perfect Fit
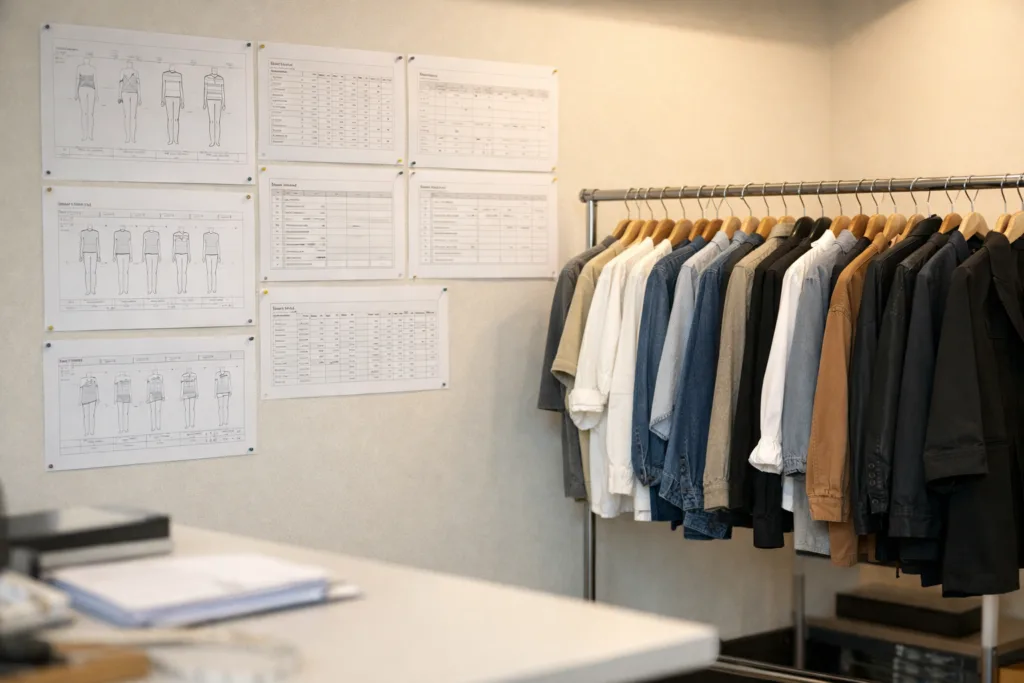
Mastering the fit session process is one of the most high-impact ways to set your brand apart. By focusing on accurate models, actionable checklists, and thorough documentation at every step, you ensure that your final products deliver not just on style—but on repeatable, comfortable sizing your customers trust. Invest in your fit process today and you’ll see the returns in fewer returns, stronger reviews, and lasting brand loyalty.
Frequently Asked Questions
What is the main goal of a fit session?
The main goal is to assess garment fit on a real body, identify pattern or construction issues, and document corrections needed before production begins.
How do I choose the right fit model?
Pick someone whose body measurements match your base size spec closely, with the ability to give clear feedback and stand for extended periods.
How many fit sessions are usually required?
Most styles need at least two or three: initial sample, corrected sample, and a final pre-production or TOP approval session.
What should be checked during the fitting?
Review garment balance, fit at key points (shoulder, chest, waist, hips), movement comfort, and construction details like seams and trims.
How do I communicate corrections to pattern makers?
Use quantifiable, specific notes with marked photos and clear measurement changes, avoiding vague language or ‘looks wrong’ type feedback.
Should I use 3D digital fitting tools?
3D tools can greatly speed up sample review, but always confirm physical fit with a real model before bulk production for the most accurate results.
Related Reading
- Step-by-Step to Flawless Garment Sampling: Master the 4-Stage Process
- From Vintage to Production: Pattern Conversion Essentials
- Building a Master Block Library: Your Secret to Consistent Fit
- How 3D Virtual Fitting Samples Revolutionize Apparel Development
- Insider Secrets: Sample Quality Checks When Selecting Apparel Factories