
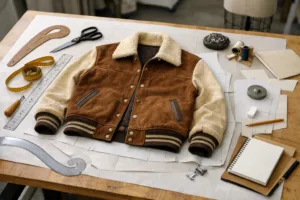
Introduction: The Art and Challenge of Turning Vintage Clothing into Modern Patterns
Converting vintage clothing into production-ready patterns is a task that bridges nostalgia and contemporary manufacturing. Whether you’re a fashion entrepreneur inspired by retro silhouettes or a designer reviving classic pieces for today’s market, understanding the intricacies of reverse engineering clothing, copying garment patterns, and using rub-off techniques is crucial. This guide is your factory-grade walkthrough to turning one-of-a-kind vintage treasures into standardized, scalable, production-friendly patterns—without losing their unique charm or fit integrity.
Why Recreate Patterns from Vintage Garments?

The allure of vintage clothing lies in its distinct cuts, quality materials, and stories woven into every seam. However, mass-producing these pieces is not as easy as tracing their outlines. Reverse engineering clothing allows brands and manufacturers to recapture authenticity, update fits, and ensure quality control for today’s consumers. Whether you dream of launching a retro-inspired line or need to meet rising demand for rare looks, mastering the conversion process is the first step toward sustainable, brand-building production.
Initial Assessment: Is Your Vintage Garment A Good Candidate?
Before patterning, check if your vintage item is a reliable template. Examine for excessive wear, shrinkage, warping, or prior mending. Ideal candidates retain original construction details and fabric characteristics. Deep stains, tears, or significant stretching can skew final patterns and compromise mass-production results.
Materials Matter: Natural vs Synthetic Vintage Fabrics
Fabrics degrade differently over time. Wool, cotton, and linen often shrink, while synthetics may lose structure. Factor these changes into your pattern adjustments, and always account for the specific behaviors of the original textile when planning for contemporary fabric substitutions.
Construction Complexity: Lined Garments, Embellishments, and Unusual Seams
Complex linings, intricate embroidery, and unique construction features will complicate the rub-off or copy process. If your garment has interior canvasing, shoulder pads, or nonstandard seams, take extra care during disassembly or tracing.
Preparation Steps: Tools and Workspace for Garment Copying
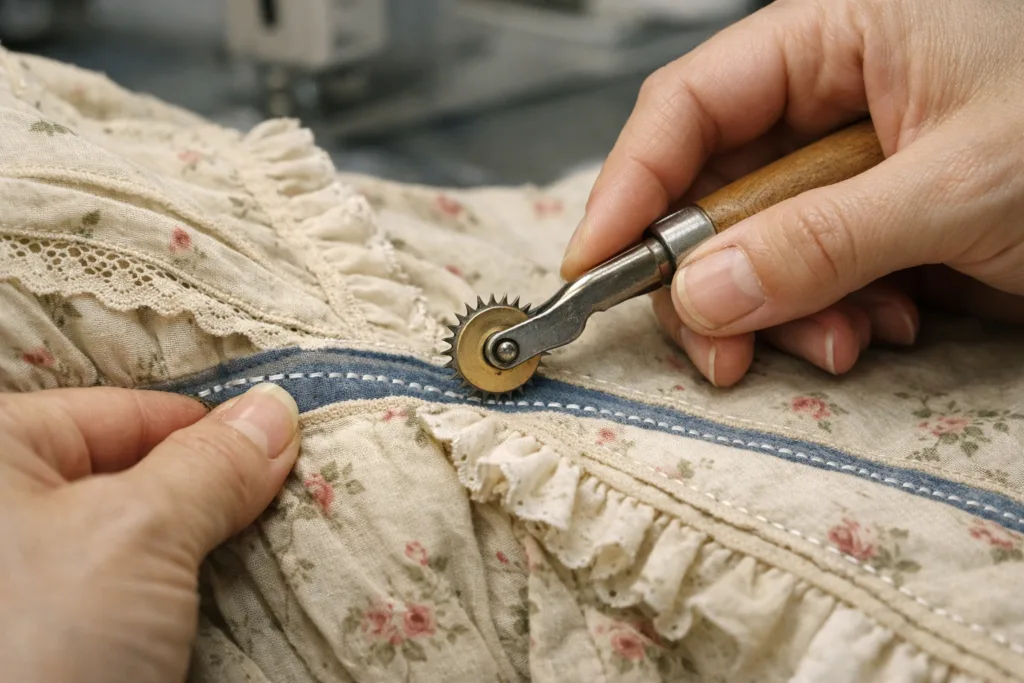
Setting up for success is about more than just having the right tracing wheel. Prepare a wide, clean surface, adequate lighting, and the following tools:
- Tracing paper or large format drafting paper
- French curves, straight rulers
- Measuring tape and pins
- Fiber-tipped pens or chalk for marking
- Seam ripper (for optional deconstruction)
- Masking tape for reinforcement
Reverse Engineering Methods: Rub-Off vs. Flat Pattern Copy
There are two primary ways to copy a garment pattern: the rub-off method and the flat pattern draft. Each has distinct advantages for different projects, with rub-off being less invasive and flat pattern copying delivering greater accuracy for complex items.
| Method | Best for | Pros | Cons |
|---|---|---|---|
| Rub-Off | Simple, unlined garments or parts | No disassembly; preserves original | Limited accuracy on 3D areas |
| Flat Pattern Copy | Detailed or lined vintage | Maximum accuracy; reveals hidden details | Garment must be carefully taken apart |
Rub-Off Technique: Step-by-Step Pattern Copying Without Disassembly
This method involves laying your vintage piece flat on a padded surface and tracing around key seams and edges directly onto pattern paper. Here’s how:
- Lay the garment as flat as possible, smoothing wrinkles gently.
- Pin through major seams to maintain shape and register points.
- Use a tracing wheel to capture seam lines onto paper beneath.
- Mark notches, darts, grainlines, and construction details.
- Label pieces as you go—front, back, sleeve, collar, etc.
- Check symmetry by flipping over and comparing both sides.
Some surface changes (such as collar rolls or shoulder slopes) may require gentle padding adjustments to mimic the intended garment drape. These subtleties make the difference between a generic copy and a production-ready pattern with true fit quality.
When to Deconstruct: Pros and Cons of Taking Garments Apart
For precision—especially with lined, tailored, or complex pieces—disassembling the garment reveals seam allowances, facing shapes, and lining intricacies. The trade-off is potential damage and permanent alteration of the original. Always document each step with photos and notes, and keep pattern pieces well organized.
Notching, Seam Allowances, and Pattern Markings
Production-ready patterns must go beyond outlines. Add all necessary seam allowances (industry standards apply: typically 1cm–1.5cm), notches for matching up, grainlines, and construction notes. Precise marking ensures your factory—or pattern digitization service—can replicate vintage fits at scale.
Digitizing Your Vintage Pattern Copies
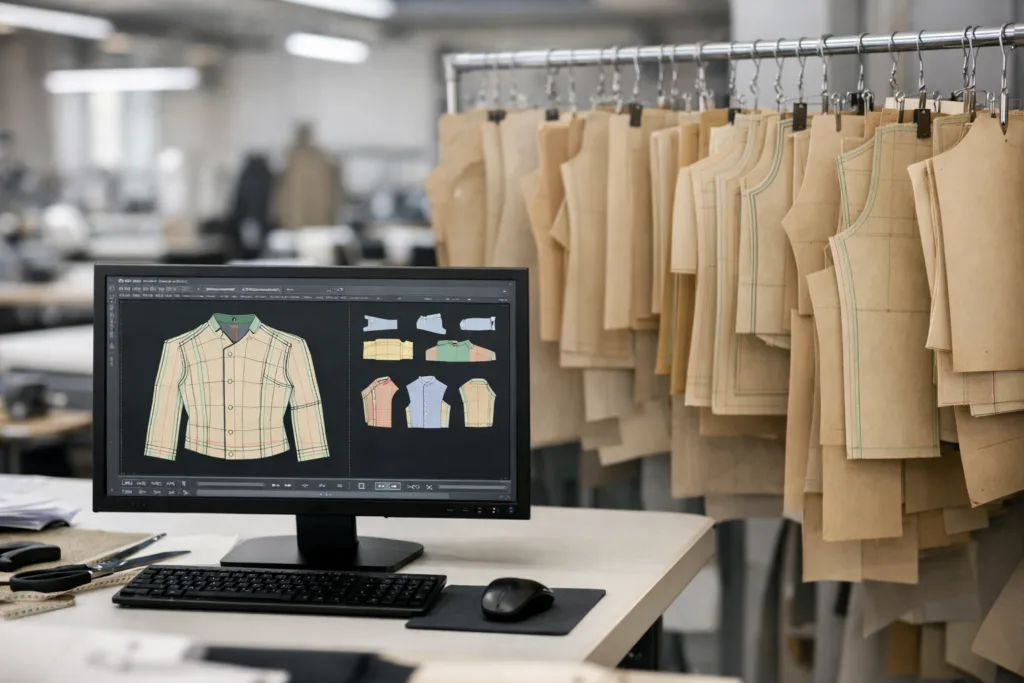
To scale, grade, and store patterns efficiently, convert paper patterns into digital files. Services use digitizing tables, CAD software, or even high-resolution scans. Accurate digital records support seamless collaboration and enable advanced marker making (for optimizing fabric usage—see How Marker Making & Nesting Slash Material Costs).
Troubleshooting Fit: Managing Vintage Size Discrepancies
Vintage sizing rarely aligns with modern standards. Adjust for body type shifts, market preferences, and consistent gradiations between sizes. Create fit samples and test thoroughly before moving to bulk production.
Upgrading Vintage Patterns for Production Needs
Not everything about a 1960s jacket should be revived untouched. Modernizing shoulder ease, sleeve heads, or pocket placements may be necessary for commercial viability and wearer comfort. Prioritize adjustments that respect the vintage style while making the product relevant today.
The Production Pattern Checklist: From Sample to Factory Floor
A production-ready pattern is far more detailed than a simple template. Before sending your converted pattern to a manufacturer, verify it includes:
- All garment pieces (including facings and linings)
- Multiple notches, not just corners
- Clearly marked grainlines
- Seam allowances and hem depths
- Annotations for special construction (e.g., pleats, bindings)
- Bill of materials and trim placements
Sampling: The Critical Bridge to Bulk Production
Sampling reveals issues no paper pattern can predict. At Ninghow Apparel, it’s standard to produce one or two trial samples when converting vintage styles. This process helps spot construction difficulties, fit quirks, and finish issues long before you commit to large orders. Sampling also provides an opportunity to check if fabric substitutions truly represent the original’s drape and appearance.
Quality Control Beyond the Pattern Table
Even the best pattern fails without robust QC checks during production. Ensure manufacturers understand the nuances of your pattern. Provide technical packages (tech packs) with construction notes, and request pre-production samples where possible. Read more about Apparel Manufacturing Quality Control for actionable tips to minimize costly errors.
Upgrading Vintage Patterns for Modern Sizing and Grading
Expand your production-ready pattern set by grading across sizes. Most vintage garments lack plus, petite, or tall options. Use digital grading techniques to maintain the look and proportions as you scale up or down (Need help? Here’s Why Pattern Grading Is Essential).
Documenting the Journey: Pattern Sheets and Tech Packs
Clear documentation ensures everyone—sample makers, QC teams, production managers—works from the same detailed blueprint. Tech packs typically include garment sketches, dimensions, material lists, construction notes, and pattern piece diagrams. This paperwork supports fast, error-free production whether you’re manufacturing locally or overseas.
The Role of Digital Solutions: CAD, 3D Sampling, and Virtual Fittings
Today’s factories rely heavily on software to speed up the patternmaking and sampling process. Digitized patterns can be simulated in 3D for fit checks and virtual approvals. If you plan frequent vintage conversions, consider integrating these digital tools for bulk efficiency and lower sample costs. (Dive deeper in How Digital Twins and 3D Sampling are Slashing Sample Costs.)
Production Trials: Small Runs and Adjustments Before Mass Production
Test your pattern with a limited run before full-scale production. A small batch allows real-world feedback on fit, fabric performance, and customer response—even letting you tweak patterns before scaling up.
Tricks from the Factory Floor: What Manufacturers Wish You Knew
From a manufacturing perspective, every millimeter counts. At Ninghow Apparel, factory veterans stress the importance of clear communication, realistic fabric sourcing, and early troubleshooting of trims or embroidery when reviving vintage styles. Don’t be afraid to seek advice from your factory’s pattern experts—taking shortcuts here nearly always results in costly corrections later on.
Packing, Shipping, and Protecting Your Converted Patterns
Store digitized pattern files securely, and keep backup copies. For paper patterns, avoid humidity, pests, and direct sunlight. When shipping patterns overseas, use sturdy packaging and document every piece—not just for reference, but to protect your investment throughout the supply chain.
Converting Vintage Clothing into Production-Ready Patterns
Bringing vintage character to modern mass production demands more than copying curves. It’s about translating history into scalable, repeatable, quality-focused clothing. With the right approach to reverse engineering, rub-off, and pattern updating, you can honor the past—while fitting the needs of today’s market, and tomorrow’s demand.
Conclusion
Converting vintage clothing into production-ready patterns is as much an art as it is a science. By following proven steps—careful assessment, precise copying, thorough pattern marking, robust digitization, and diligent sampling—you turn one-off finds into scalable collections without losing their original charm. Consistency, patience, and an openness to expert feedback (from patternmakers or your manufacturer) are your best tools. Start small, document each stage, and let both history and technology guide your next standout collection.
Frequently Asked Questions
Can I copy a vintage garment without taking it apart?
Yes, using the rub-off method lets you trace major seams and outlines without disassembling the item, though results are best on simple, unlined pieces.
How do I adjust for stretched or shrunk vintage fabrics?
Measure both the worn item and an unstressed area, check fabric composition, and use grading or pattern corrections to restore original dimensions before scaling for production.
What is the difference between rub-off and flat pattern copying?
Rub-off traces without disassembly, ideal for simple items. Flat pattern copying involves carefully taking garments apart for maximum accuracy, especially on detailed or lined pieces.
How do I make sure my production pattern matches modern sizing?
Grade your pattern to fit a modern size chart, adjust proportionally for current body shapes, and use fit samples to test before large-scale production.
Do I need special software to digitize vintage patterns?
While you can digitize with scanning and basic CAD programs, professional pattern software offers more accurate grading, storage, and virtual sampling capabilities.
What critical info goes on a production-ready pattern?
Label all pieces, add seam and hem allowances, indicate grainlines, place notches for construction alignment, and document notes for trims and material choices in a tech pack.
Related Reading
- Discover the Secrets of Flat Pattern vs. Draping Techniques
- How to Keep Tech Packs Up-to-Date During Sampling
- Your Complete Guide to Mastering Pattern Tolerance in Garment Manufacturing
- Expert Advice: Outsourcing Pattern Making and Avoiding Hidden Pitfalls
- Why Every Clothing Brand Needs a Professional Tech Pack Blueprint