
When a brand sends artwork for a custom T-shirt order, the file quality usually affects everything that follows: quoting, sampling, print method choice, and final production speed. Strong t-shirt artwork file preparation helps the manufacturer see the design clearly, confirm placement, and reduce avoidable revisions before any sample is made.
If a brand is still comparing suppliers, the earlier decision is often not the print method itself but the file handoff. A clear t-shirt artwork file preparation for custom printing workflow gives the factory enough information to confirm what can be produced cleanly before sampling begins.
Why artwork file preparation matters before custom T-shirt printing
Manufacturers do not just need a nice-looking design file. They need artwork that can be interpreted accurately by the production team, separated correctly if needed, and matched to the right decoration method. When the file is incomplete, the factory has to guess at size, colors, placement, or background treatment, and that guesswork slows the project.
For brands, better files mean fewer questions, faster quotations, and a cleaner approval process. For sourcing teams, it also makes it easier to compare suppliers on the same basis because each factory is reviewing the same information.
What happens when brands send low-quality images or unclear files
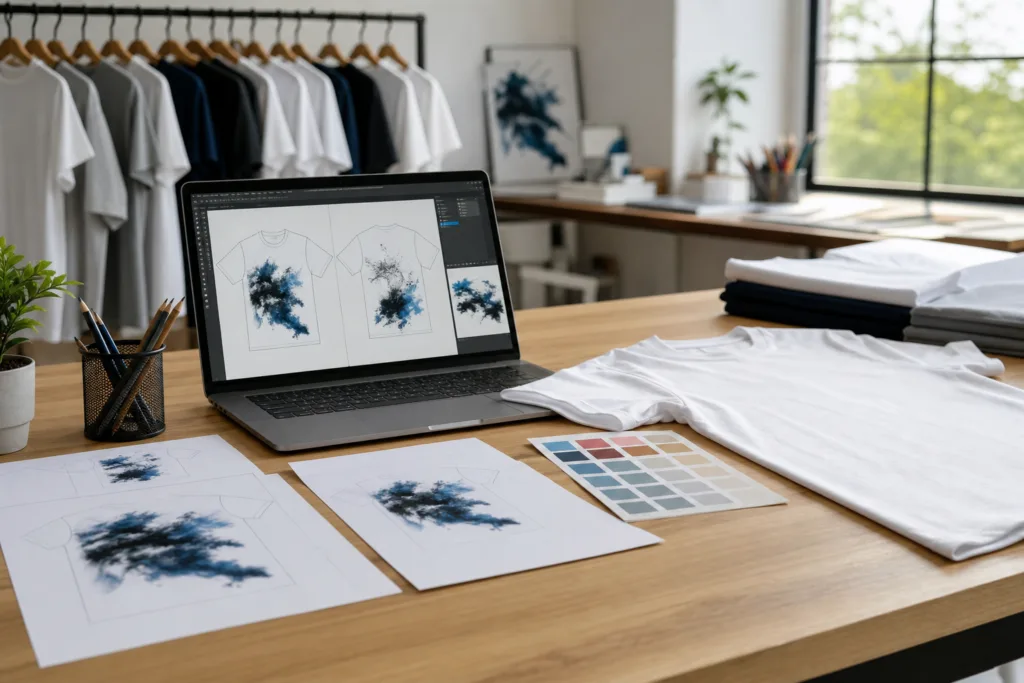
Low-resolution images, screenshots, or designs with blurry edges usually create extra rounds of revision. A manufacturer may still be able to make the garment, but the artwork may need redrawing, vector cleanup, or a different print method before production can move forward.
That extra work can affect sampling lead time, sample cost, and the risk of miscommunication. In many cases, the delay is not caused by the garment itself but by the time needed to make the artwork production-ready.
The file types manufacturers commonly accept
Different factories accept different file types, but the most useful formats are the ones that preserve shape, color, and scaling. In general, vector files are the safest starting point for logos and clean graphics, while high-resolution raster files can work for more detailed images.
| File type | Common use | Manufacturer note |
|---|---|---|
| AI | Vector logos and artwork | Best for scaling without quality loss |
| EPS | Editable vector production files | Useful for print and separation work |
| Shared artwork proof | Good for review if the file is high quality | |
| PNG | Artwork with transparent background | Helpful for simple digital print review |
If you are still deciding on the decoration route, reviewing custom clothing printing methods can help you match the file format to the actual production process, instead of sending one file for every technique.
How to choose the right file format for custom T-shirt artwork
Vector files are usually the best choice for logos, typography, and graphics with clean edges because they scale without losing clarity. Raster files can still work, but only if the resolution is high enough for the final print size.
Vector files
Use vector artwork when the design has solid shapes, outlines, or text that needs to stay sharp at different sizes. This is often the preferred format for screen printing, spot-color prints, and many logo placements.
Raster files
Use raster files when the artwork includes photo-style detail, gradients, or painterly effects. In that case, the factory needs a large enough file to avoid pixelation at the intended print size.
Resolution, size, and transparent background requirements
Resolution matters most when the artwork is not vector-based. A file that looks fine on a phone screen may still print badly if the image is too small or compressed. The same is true for background handling: if the design should print without a white box around it, the file must be set up with transparency.
Brands should also send the intended print size, not just the file itself. A chest print, back print, and sleeve print may all need different scaling, even if the artwork is the same.
Pantone, CMYK, and RGB: how color formats affect the final result
Color mode is one of the most common sources of confusion. RGB is designed for screens, so it often looks brighter than what print equipment can reproduce. CMYK is more useful for many print processes, while Pantone is often used when a brand needs a more specific color target.
For accurate production, the brand should state whether color matching is flexible or strict. If the design must stay consistent across repeat orders, that note matters as much as the file itself.
How to mark print placement clearly on the T-shirt
Artwork should never be sent without placement notes. A manufacturer needs to know whether the design goes on the left chest, center chest, full front, back, sleeve, or neck area. It also helps to specify the approximate distance from the collar, center line, or hem.
Clear placement instructions are especially important when the design is small, asymmetric, or intended for multiple print locations on the same garment.
How multi-color designs are separated for screen printing or other decoration methods
Multi-color artwork may need separation files before production can start. This means the design is broken into layers or color components so each part can be printed correctly. The cleaner the source file, the easier that process becomes.
Some decoration methods handle complex artwork more efficiently than others. For example, large color gradients, thin lines, and photo-style details may not be ideal for every print process. Understanding the output method early helps avoid a file that is technically complete but commercially impractical.
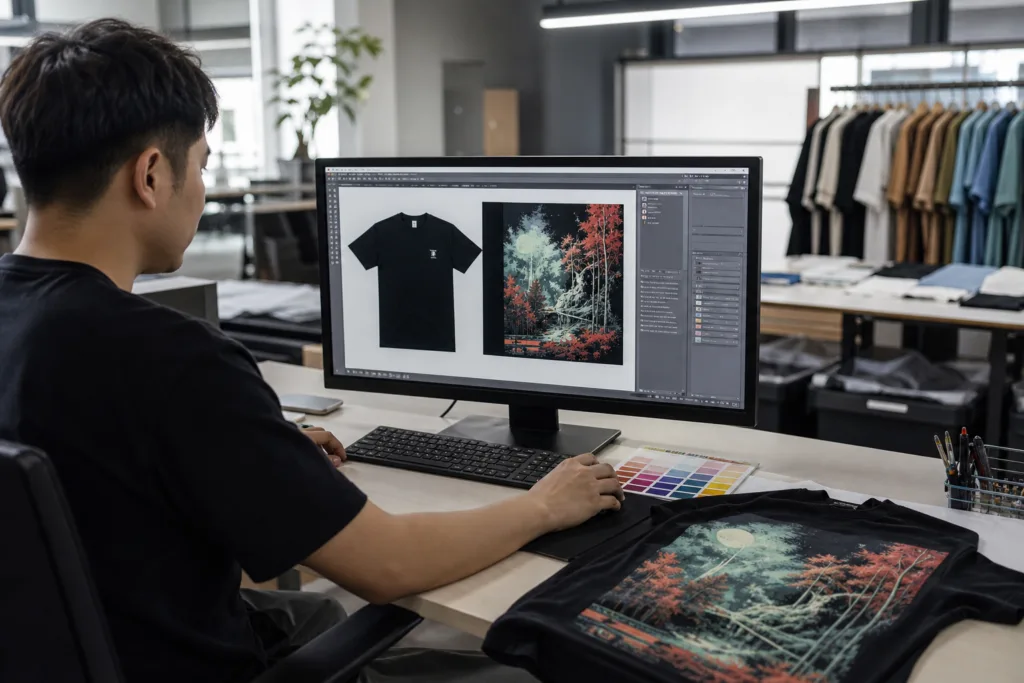
That is why it helps to evaluate apparel sample approval process expectations before assuming the first proof will match the final production result.
When a complex design is better suited for embroidery instead of printing
Not every artwork should be forced into print. Very small details, dense textures, or a premium brand look may perform better in embroidery, depending on the garment and placement. The decision should be based on legibility, scale, and end use rather than preference alone.
If a design has too many fine elements for the selected print process, simplifying the artwork or changing the decoration method may save time and reduce production risk.
What brands should include in an artwork file checklist before requesting a sample
A good checklist keeps the artwork submission complete and production-friendly. Before sending files to the factory, brands should confirm the design, size, colors, placement, file format, and any special production notes.
- Final artwork file in the preferred format
- Transparent background if needed
- Intended print size in inches or centimeters
- Print placement notes
- Color references or Pantone callouts if required
- Logo or text spelling checked carefully
- Any special finish notes such as puff, foil, or gradient effects
Brands that are also preparing garment details should use a pre-production tech pack review checklist so the artwork, measurement, and construction details stay aligned before sampling starts.
Common artwork mistakes that delay sampling or increase production risk
The most common issues are simple but costly: screenshots instead of source files, missing fonts, blurry images, no size reference, and unclear color instructions. Another frequent problem is sending a logo that was created for digital use but never checked at print scale.
These mistakes usually do not make the project impossible, but they do create more back-and-forth. That means slower approvals, more revisions, and a greater chance that the first sample misses the brand’s expectation.
How Ninghow evaluates submitted artwork for print and production feasibility
At Ninghow Apparel, the first artwork review is usually about production feasibility: can the file be printed clearly, separated correctly, and matched to the chosen garment and method without guesswork? If the answer is unclear, the file normally needs clarification before sampling can move ahead.
This kind of early review is useful because it separates creative approval from production reality. A design can look strong on screen and still need adjustment for stitch count, print detail, or placement balance on the actual T-shirt.
When projects involve multiple development rounds, it also helps to understand the garment sampling stages from proto to TOP, because artwork changes are often easier to manage before the sample reaches later approval stages.
What to send to the manufacturer before asking for a sample
The clearest submission is not just the artwork file. It is the artwork file plus the context needed to produce it correctly. A brand should send one final file, one clear instruction set, and one person responsible for answering production questions.
- Final artwork file
- Requested print size
- Exact placement reference
- Color target or Pantone reference if relevant
- Preferred decoration method, if already decided
- Any reference images or prior samples
- Contact point for artwork approvals
When the submission is complete, the manufacturer can move faster from review to sampling because there is less need to interpret the design. That is the main advantage of strong artwork file preparation: fewer delays, clearer pricing, and more predictable production.
Conclusion
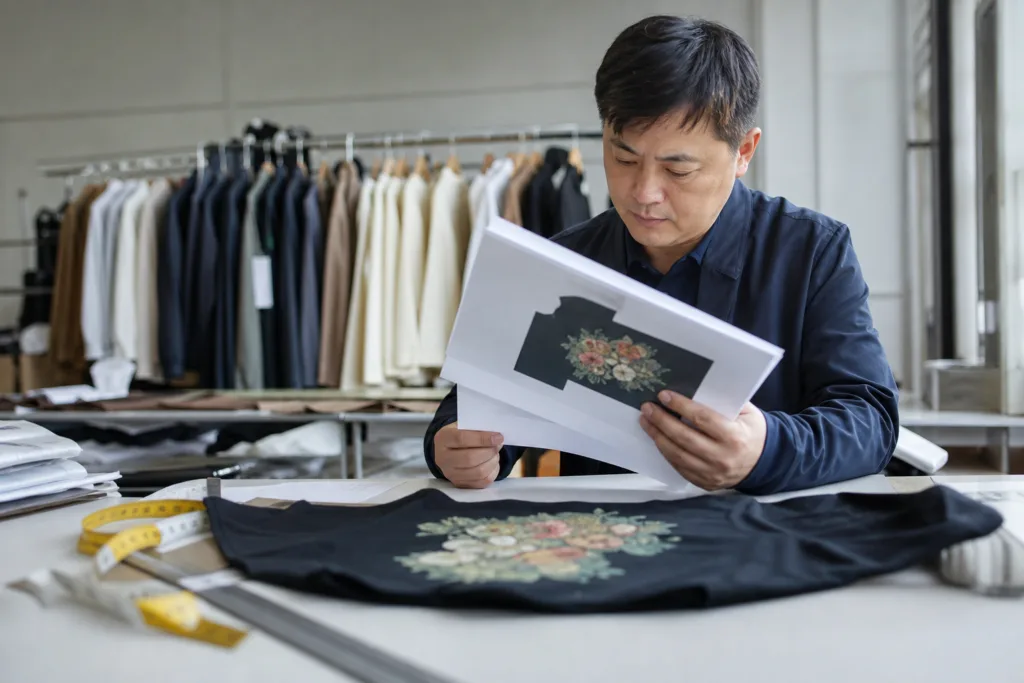
Good artwork files do more than make the design look tidy. They help the manufacturer choose the right process, quote accurately, and produce a sample that reflects the brand’s intent. For apparel buyers, the best time to fix artwork problems is before the first sample is made.
If the file is clean, the instructions are clear, and the placement is defined, the whole project becomes easier to manage from sampling through bulk production.
FAQ
What file format should brands send for t-shirt printing?
AI or EPS is usually best for clean logos and vector artwork, while high-resolution PNG or PDF files can work for review when the design is already properly set up.
Is a PDF enough for artwork submission?
A PDF can be enough for review if it is high quality, but the manufacturer may still ask for the editable source file if the design needs scaling, separation, or color correction.
Do colors need Pantone codes?
Pantone codes are helpful when color consistency matters across repeat production, but not every project requires them. The brand should tell the manufacturer how strict the color target is.
How should print placement be marked?
Placement should be stated clearly with location names and, when possible, approximate measurements from the collar, center line, or hem.
Can a low-resolution image still be used?
Sometimes, but only if the design is small enough or can be redrawn. For larger prints, low-resolution files usually create visible quality problems.
When should a design be converted to embroidery instead of printing?
Embroidery is worth considering when the artwork is simple enough to stitch cleanly or when the brand wants a textured, premium finish that print may not deliver well.